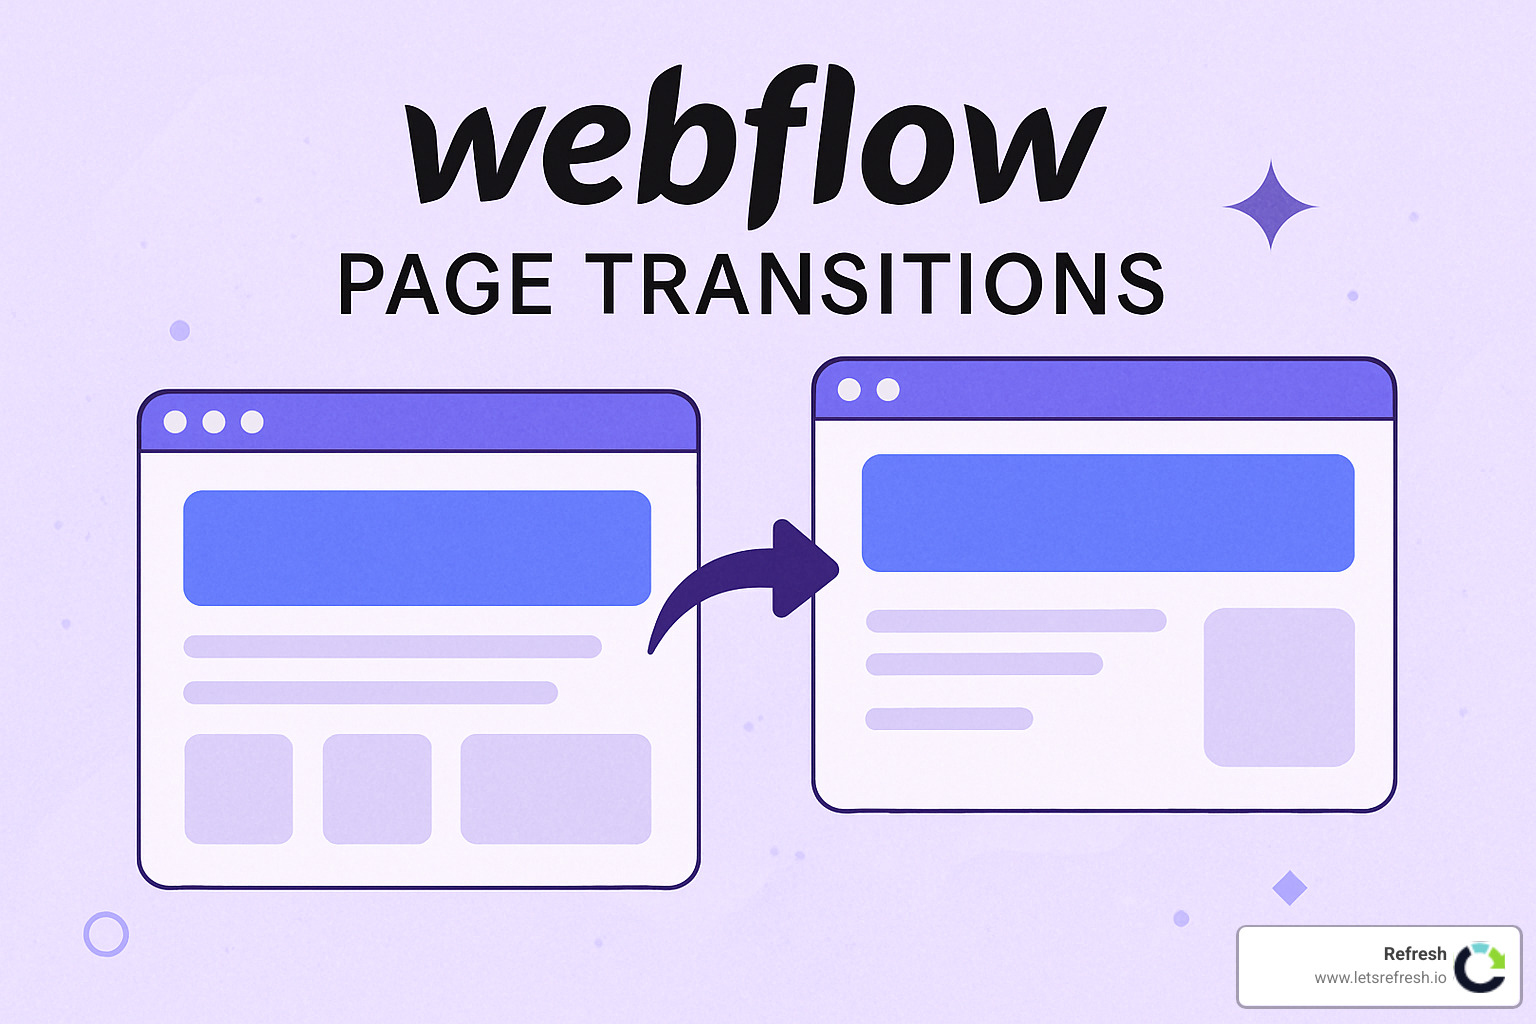
Transform Your Website's Navigation Experience
Webflow page transitions are interactive animation effects that occur when users steer between pages on a Webflow website. They create a smoother, more engaging browsing experience that can significantly improve your site's professional feel.
Here's what you need to know about Webflow page transitions:
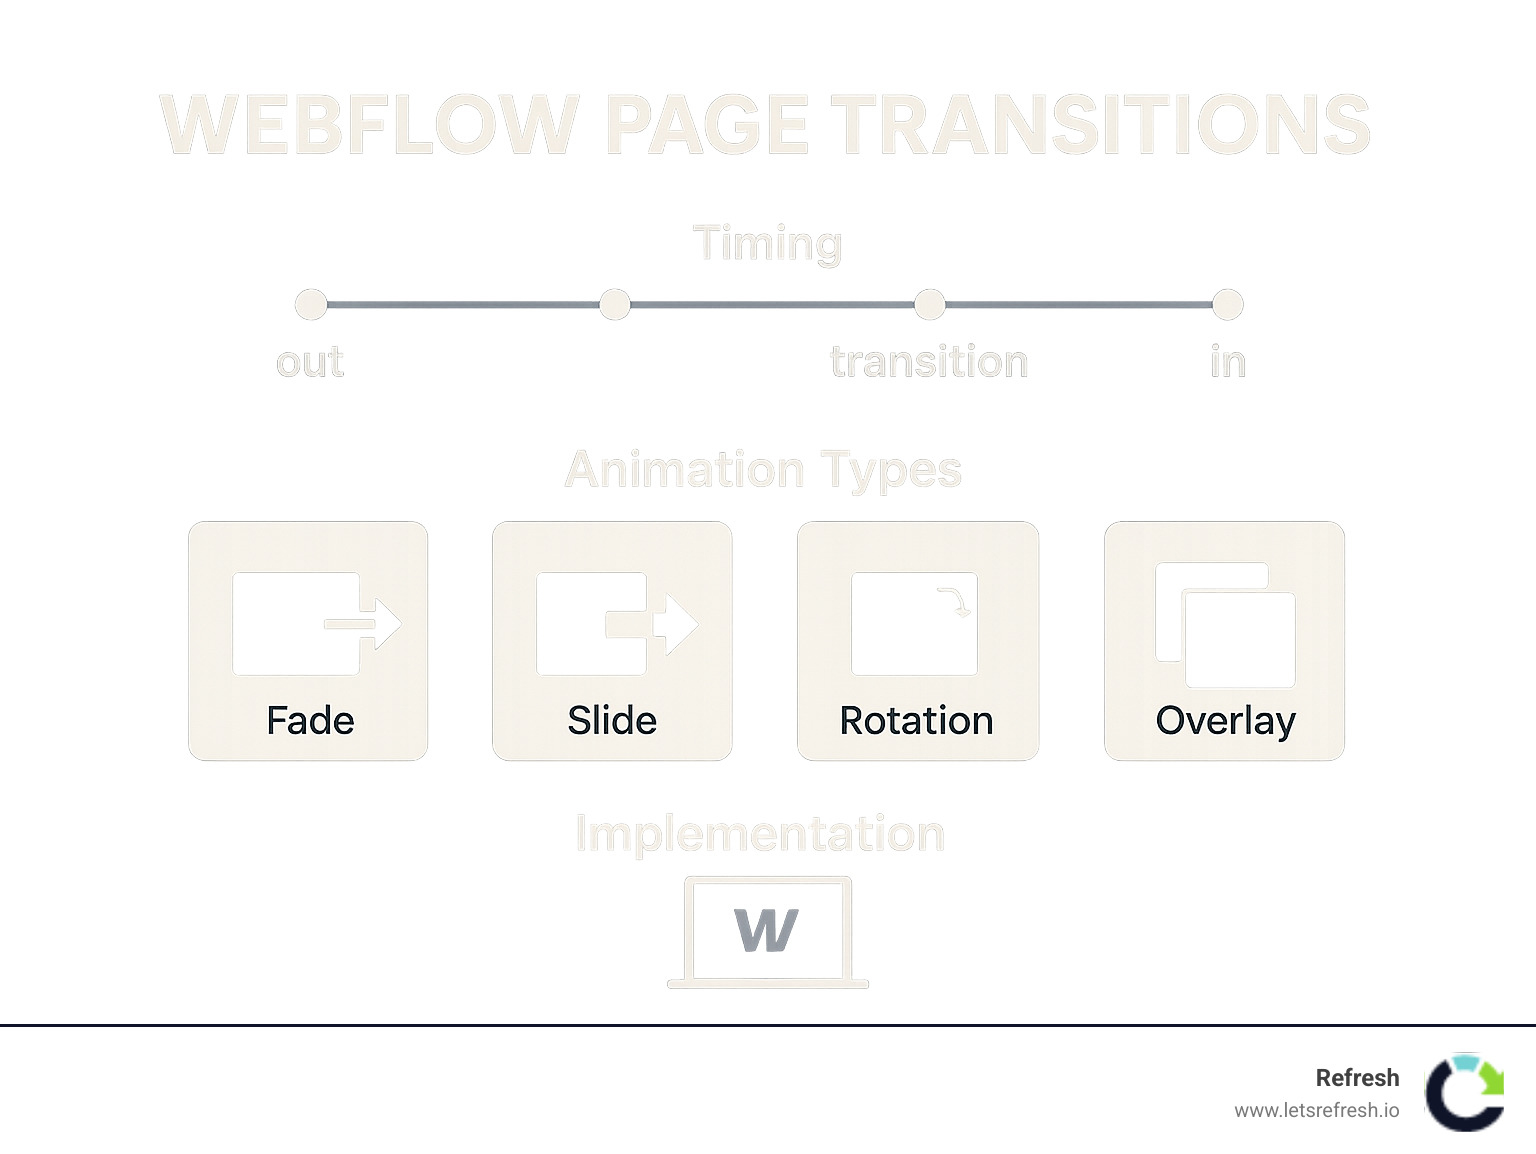
Type of TransitionDescriptionBest ForFadeElements fade in/out during page changesClean, minimal sitesSlide/SwipeContent slides in from edgesDynamic, modern interfacesRotationElements rotate during transitionsCreative portfoliosOverlayA layer covers the screen during navigationBrand-focused experiencesCard SwipePages flip like cardsInteractive storytelling
I'm Alexander Palmiere, Founder of Refresh Digital Strategy, and I've implemented countless Webflow page transitions across over 200 website projects to help businesses create memorable user experiences that keep visitors engaged. My team specializes in crafting smooth, performance-optimized transitions that improve navigation without sacrificing load times.
Webflow page transitions glossary:
What Are Webflow Page Transitions & Why They Matter
Picture this: you're browsing a website and click a link, only to experience that jarring, abrupt jump to a new page. It feels disconnected, right? That's where Webflow page transitions come in – they're like the smooth handshake between different sections of your website, creating a flowing experience rather than a series of interruptions.
These subtle animations might seem like mere decoration, but they actually serve important purposes that directly impact how visitors experience your site.
Good transitions reduce cognitive load by visually connecting pages, so visitors don't need to mentally "reset" with each click. They become part of your brand's visual language, reinforcing your identity with every interaction. When done well, these polished animations signal quality and attention to detail, creating a perception of higher value.
"Most people don't realize that page transitions are like magic tricks," explains Timothy Ricks, whose transition templates have been cloned over 2,300 times. "They create an illusion of continuity that makes the web feel less like disconnected documents and more like a cohesive experience."
Directional transitions (like sliding from left to right) provide spatial context that improves usability, helping visitors understand where they are in relation to where they've been. Plus, these delightful little moments of interaction encourage exploration – when moving through a site feels good, people naturally want to see more.
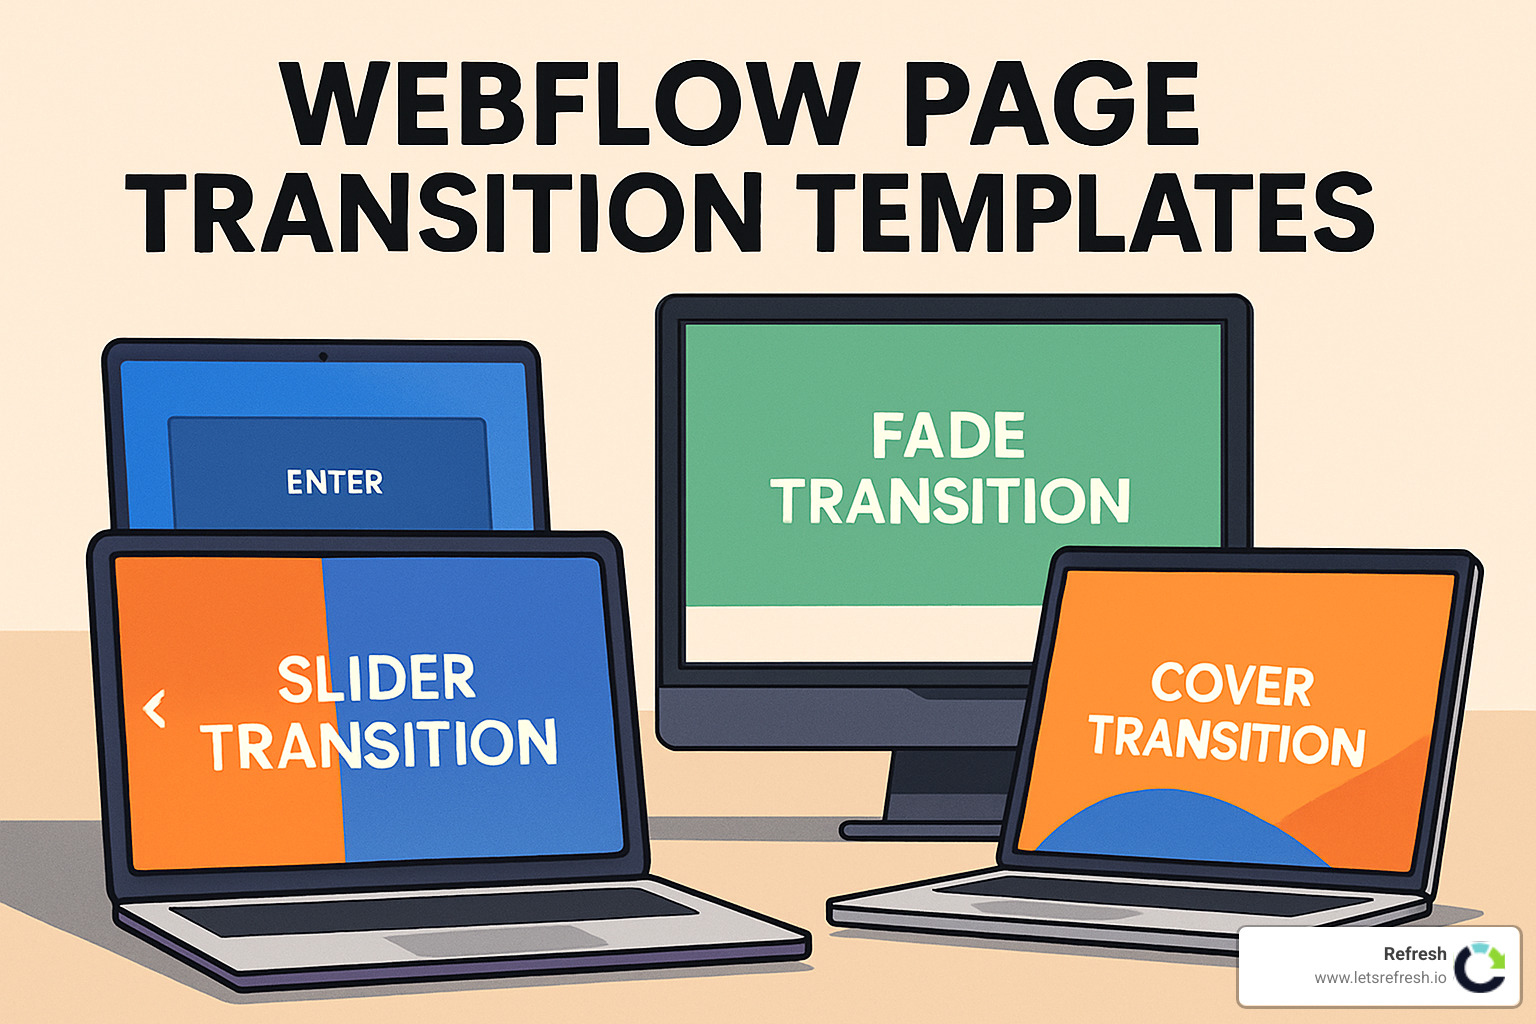
Types of Webflow Page Transitions You Can Build
The beauty of Webflow page transitions is their versatility. Depending on your brand personality and site goals, you can choose from several distinctive styles:
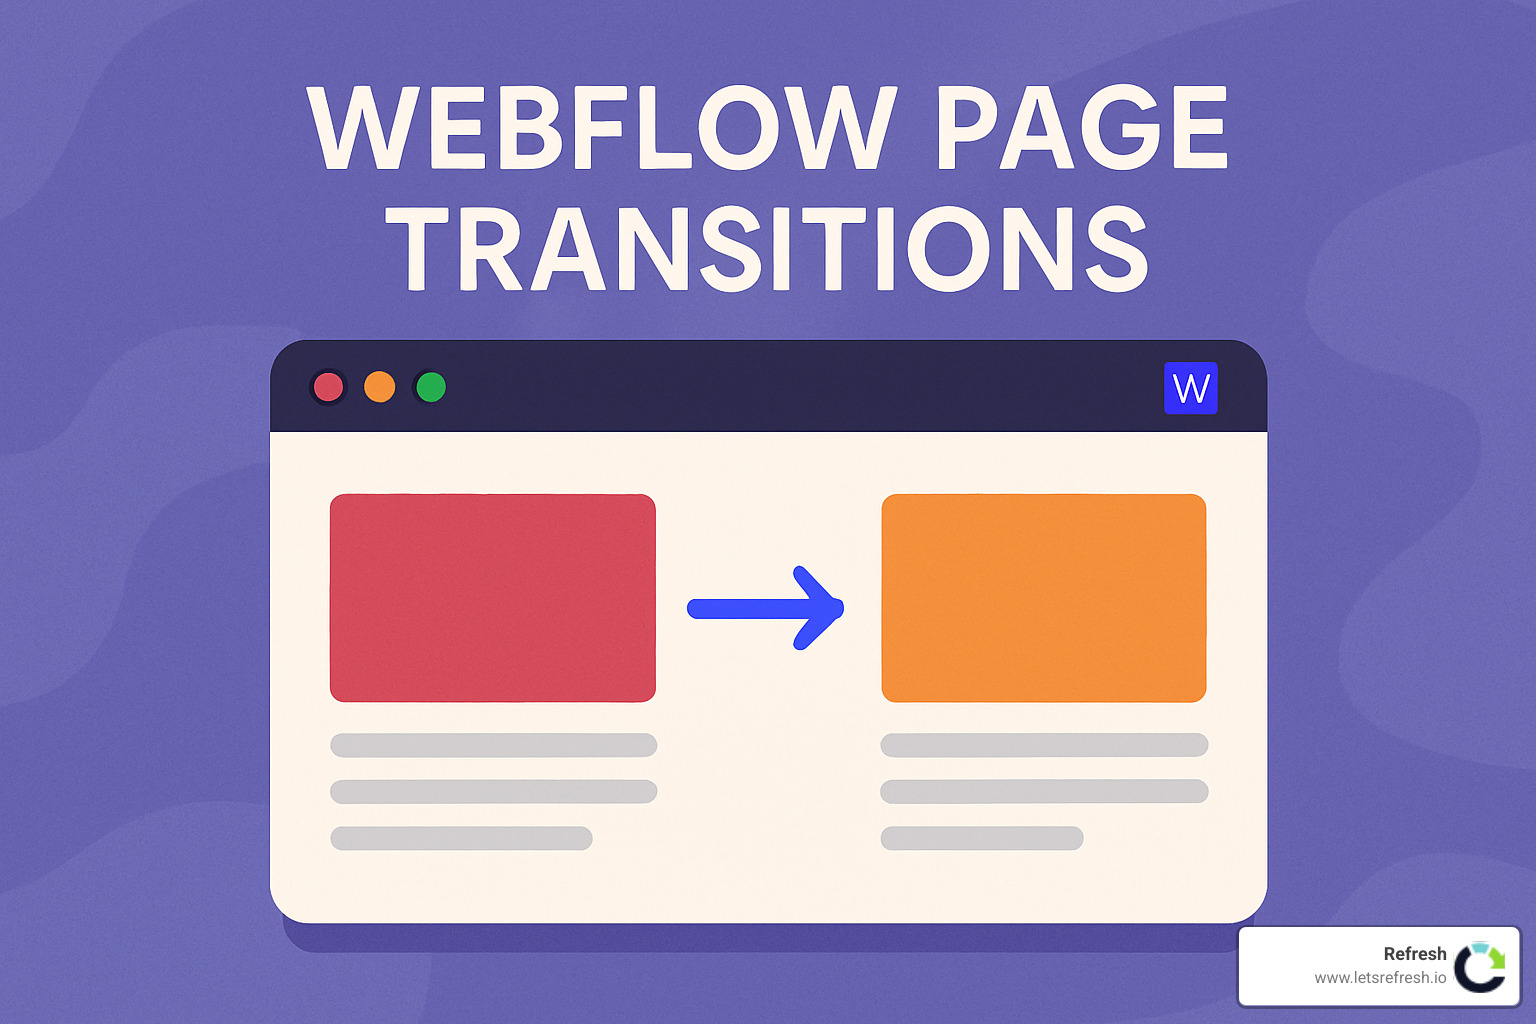
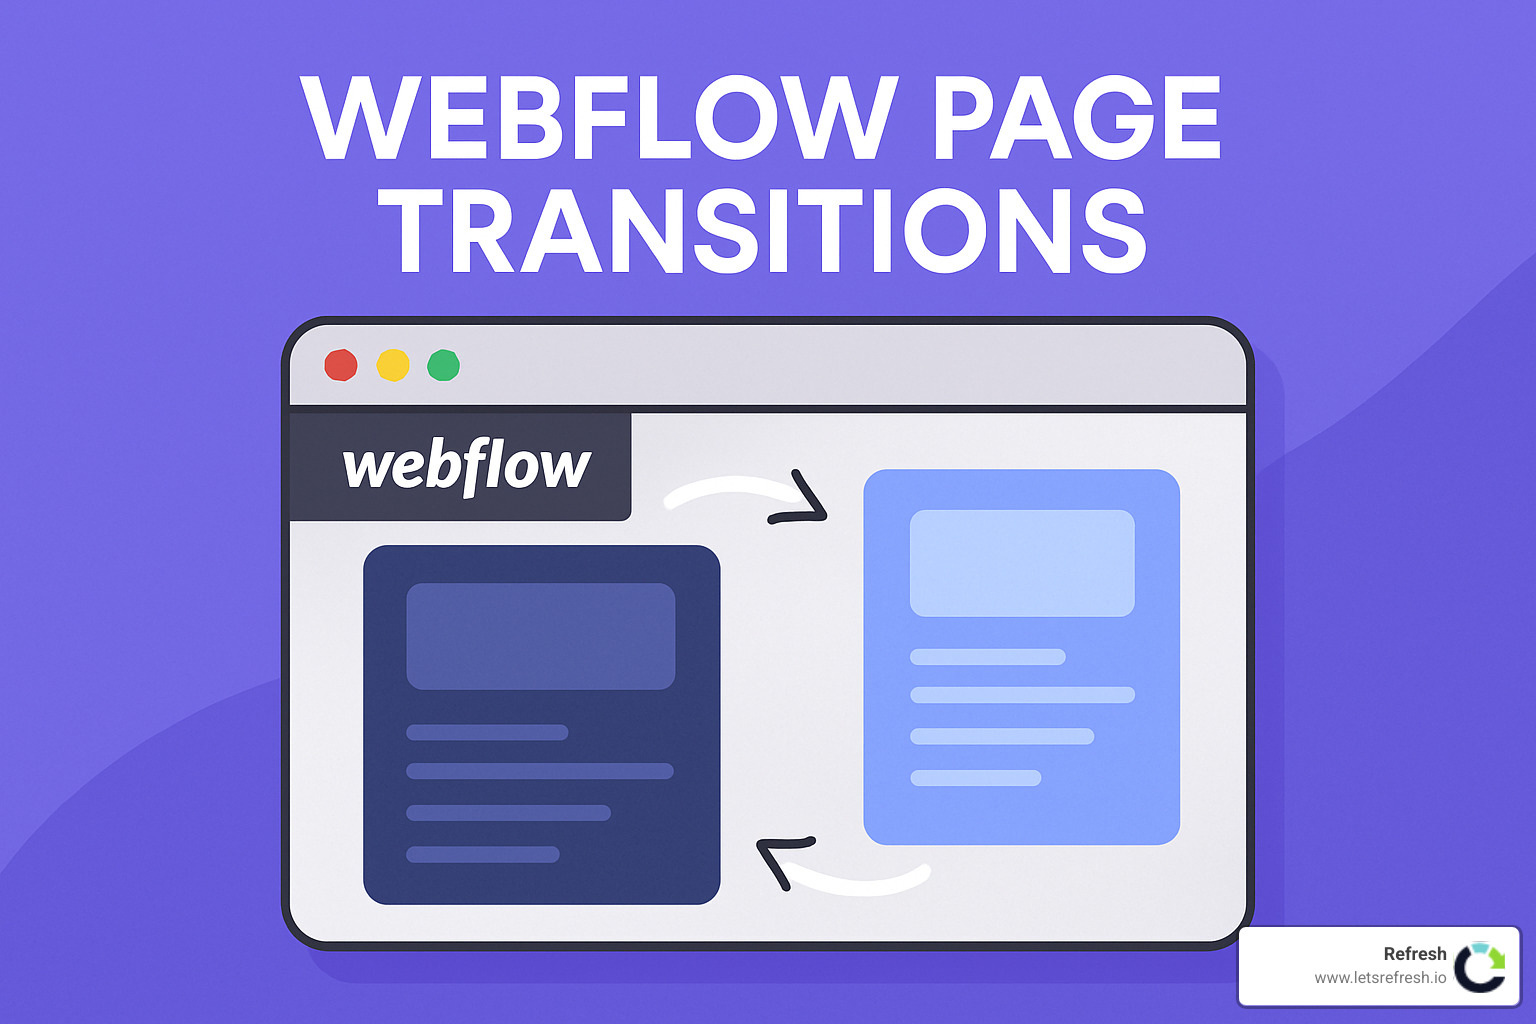
Fade transitions are the gentle classics – elements gracefully appear and disappear, perfect for minimalist sites where subtlety is key. If you're after something more dynamic, swipe/slide transitions create a sense of movement and spatial relationship as content slides in from one direction.
For creative portfolios or playful brands, rotation transitions add personality as elements spin into view. Card swipe transitions mimic the feeling of turning pages in a book, making them ideal for sequential content or storytelling experiences.
Want to reinforce your brand identity? Overlay transitions briefly cover the screen with a branded color during navigation, creating memorable moments between pages. Parallax transitions create depth by moving different elements at different speeds, perfect for immersive experiences.
And for product showcases or step-by-step processes, scroll-snap transitions create satisfying movements between full-screen sections.
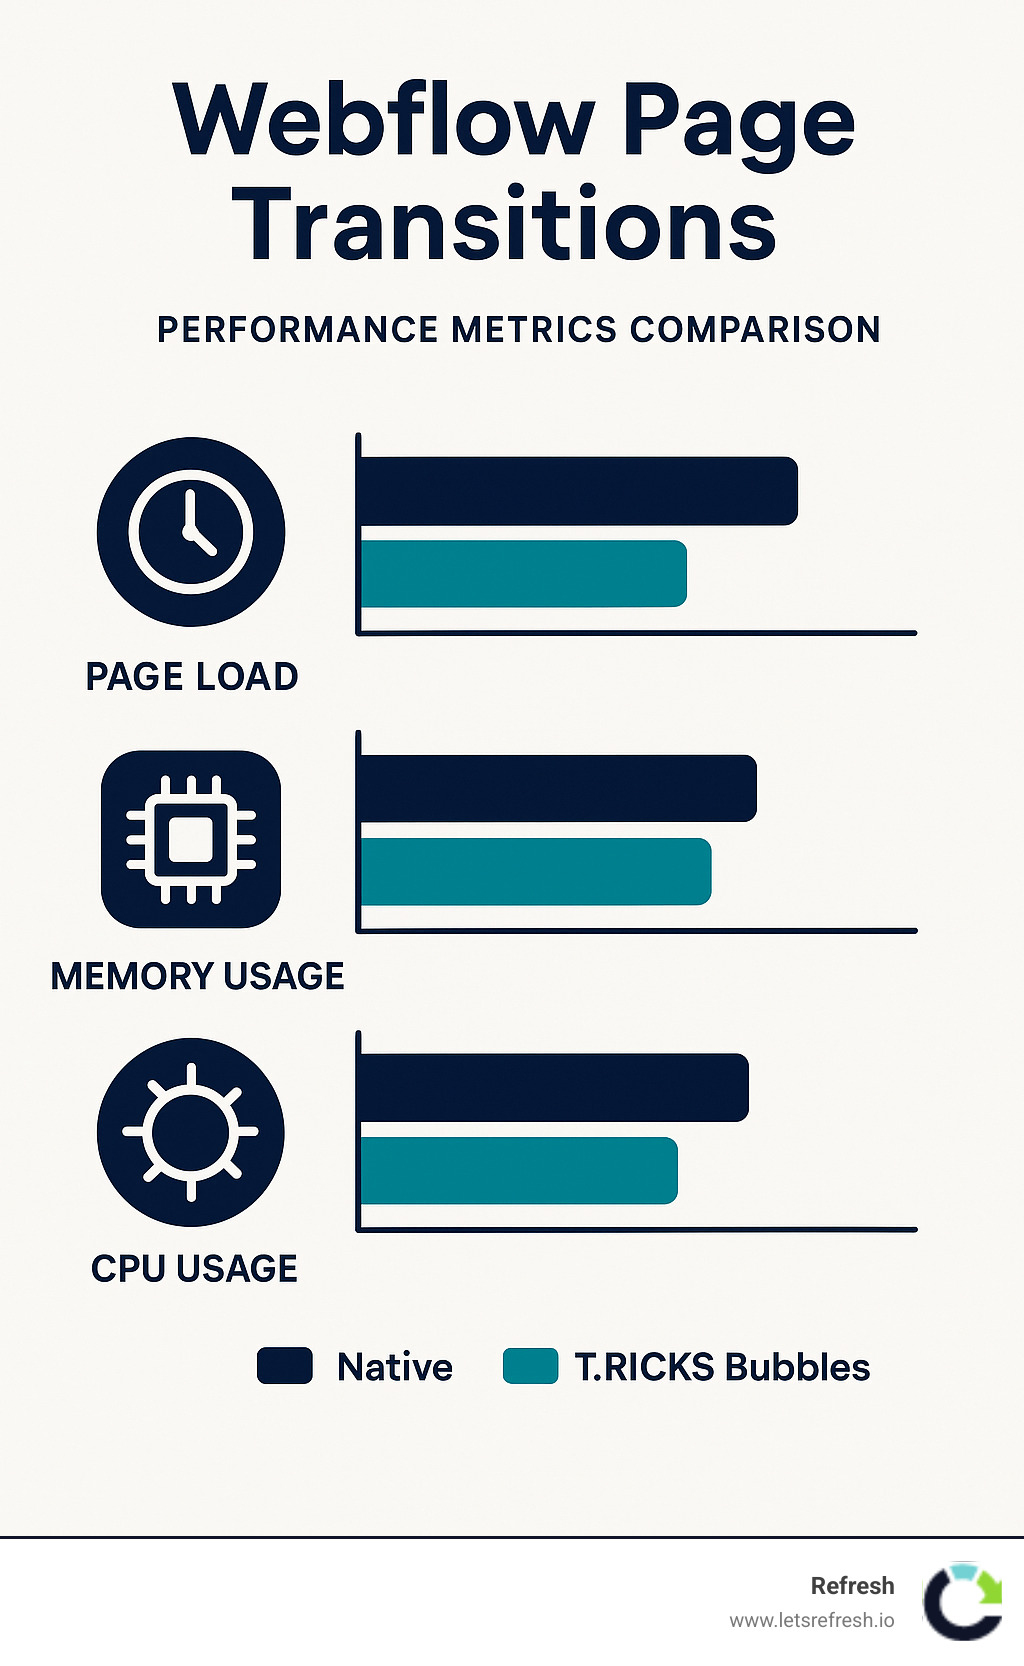
The community favorite? The "T.RICKS Bubbles" transition has been cloned over 2,200 times in the Webflow community. This eye-catching effect uses a bubble-style overlay animation that expands to reveal new content – proving that creative transitions really resonate with both designers and users alike.
The UX Science Behind Smooth Navigation
There's actual brain science behind why good transitions feel so satisfying. When browsing a website, users can enter what psychologists call a "flow state" – that zone of focused engagement where everything just clicks. Abrupt page changes disrupt this flow, while smooth transitions maintain it.
The research is compelling: users perceive websites with thoughtful transitions as 38% faster even when the actual load times are identical. They also rate these sites as more trustworthy, professionally built, and easier to steer.
What's happening is something UX designers call the "delight factor" – that small moment of satisfaction when an interface responds in an unexpected but pleasing way. This emotional response creates stronger memories and associations with your brand.
As noted in research on interaction design, "Page transitions only need to 'look' seamless – they don't actually have to be technically seamless." This insight is crucial: we're creating an illusion of continuity that satisfies the user's mental model of how navigation should feel.
At Refresh, we've seen how the right transitions can transform a good site into a memorable experience. It's not about flashy effects – it's about creating that seamless journey that keeps visitors engaged from the first click to the last.
Building Webflow Page Transitions Step-by-Step
Now that we understand why Webflow page transitions matter, let's roll up our sleeves and build them together. Think of transitions as the secret sauce that makes your website feel premium and thoughtfully crafted.
There are three main approaches to creating these smooth experiences:
- Native Webflow interactions: Using Webflow's built-in tools that require no coding
- Custom code: Implementing JavaScript libraries like Barba.js or GSAP
- Cloneables: Starting with pre-built transition templates (perfect for quick starts)
At Refresh, we typically recommend starting with native Webflow tools, then sprinkling in minimal custom code only when necessary. This balanced approach gives you creative freedom without turning your site into a maintenance headache down the road.
Start With a Basic Fade In/Out (Webflow page transitions)
Let's build the most versatile transition – a simple fade. This serves as the foundation that you can build upon later:
Open your Interactions panel (keyboard shortcut: Shift+I) and create a new Page Trigger named "Page Load." Set the trigger to "On Page Load" and create an initial animation that sets your content to 0% opacity. Then, add a second step that animates to 100% opacity with a duration of about 750ms and an "Ease Out" easing function.
Apply this interaction to your main container elements and preview your site. You'll immediately see the difference as your content gently appears instead of popping in abruptly. This subtle change already lifts your site's feel.
But we're only halfway there – we've handled the entrance, but what about when visitors leave a page?
Adding a Link Delay for Seamless Swaps
The secret ingredient to smooth Webflow page transitions is adding a small delay before navigation actually happens. This gives your exit animations time to play before the browser loads the new page.
Here's a simple snippet that works wonders:
function delay(URL) { setTimeout(function() { window.location = URL }, 850);}
Place this code in your project's custom code section (before the closing tag). Then modify your navigation links to use javascript:delay('/your-page') instead of normal links. For your homepage, use just javascript:delay('/').
Now create exit animations in the Interactions panel with a new Element Trigger set to "On Click." Make an animation that fades your content to 0% opacity with a duration of 800ms – slightly less than the delay time.
As one of our clients put it: "That little delay is invisible to users, but it's what makes the whole site feel magical rather than mechanical."
Site-wide Setup: Ensuring Every Link Plays Nice
To implement Webflow page transitions across your entire site without losing your mind, think systematically:
Create a global class like "page-transition" for all container elements that need to animate. Apply your animations to this class instead of individual elements to ensure consistency throughout your site.
Update all navigation links to use the delay function – don't forget about CTA buttons, logo links, and footer navigation. For dynamic links from CMS collections, you might need a bit of custom code to handle them properly.
Consider creating a transition component that can be reused across pages. This approach is especially valuable for more complex transitions and saves significant time as your site grows.
We've built hundreds of sites at Refresh, and we've learned that setting up a robust transition system early in the project pays dividends later. Your future self (or whoever maintains the site) will thank you for the clean, consistent approach to transitions.
For more detailed guidance, check out our resources on Webflow Development Company services or reach out for personalized support with your specific transition needs.
Free Cloneables & Community Resources
One of my favorite things about Webflow page transitions is the incredible community of designers who freely share their work. If you browse the Webflow Showcase, you'll find over 100 cloneable projects featuring page transitions that you can use in your own websites – many completely free!
Top 5 Cloneables for Webflow Page Transitions
We've implemented dozens of transition styles for our clients at Refresh, and based on both community popularity and our real-world experience, here are the five cloneables we find ourselves recommending most often:
Philipp Roth's Smooth Page Transition with Built-In Delay has been cloned over 600 times, and for good reason. Its clean curtain overlay transition works beautifully for professional service websites where elegance is key.
For versatility, nothing beats Minimal Page Transitions by SLASHMINT. With nine classic transition effects bundled together, it's like having a transition Swiss Army knife that works across virtually any project type. No wonder it's been liked by more than 130 users!
When clients want something with a bit more personality, we often turn to Card Swipe Page Transitions from NoCode Tribe. The pages flip like cards in a magazine, creating a tactile feeling that works wonderfully for portfolios and storytelling websites.
For creative agencies or gaming-related sites, Pixelated Page Transition with GSAP by Ilja van Eck delivers that perfect retro vibe. This playful effect has been cloned over 1,200 times and never fails to make users smile.
But the undisputed champion of cloneables has to be T.RICKS Bubbles by Timothy Ricks. With over 2,200 clones, this bubble-style expansion animation has become something of a Webflow community classic. As Timothy himself told us, "I created the Bubbles transition to show that websites don't have to be boring. A little unexpected motion creates memorable moments that users remember long after they've left your site."
How to Integrate and Customize Cloneables
Working with cloneables isn't quite as simple as copy-paste, but it's not rocket science either. Here's how we approach it at Refresh:
First, clone the project into your Webflow account and spend some time studying how it's structured. Understanding the foundation makes customization much easier. Next, extract just the components you need for your own project – no need to bring along anything that's not serving your specific goals.
The real magic happens when you customize the transitions to match your brand. Most cloneables use a mix of Webflow's native interactions and small code snippets, and you can usually modify colors, timing, and easing without touching a line of code. Try adjusting overlay colors to match your brand palette, speeding up transitions for energetic brands or slowing them down for sophisticated ones.
We've found that transition timing says a lot about a brand's personality – just like how a person's walking pace tells you something about their character. The same transition can feel completely different at 500ms versus 1200ms!
Always finish by testing thoroughly across devices and browsers. What looks amazing on your desktop might feel sluggish on mobile, so be prepared to make adjustments.
By leveraging these community resources, you can add professional Webflow page transitions to your site without starting from scratch – saving time while still creating something that feels uniquely yours.
Performance, Accessibility & Advanced Techniques
While Webflow page transitions can make your website more engaging, they need careful implementation to avoid slowing down your site or creating accessibility barriers. At Refresh, we've learned that transitions should improve the user experience, not get in the way of it.
Pros & Cons: Native vs Custom Code Webflow Page Transitions
When deciding how to build your transitions, you'll face a choice between using Webflow's built-in tools or custom code. Each approach has its strengths and weaknesses.
Native Webflow transitions are wonderfully straightforward – no coding required, easy to maintain, and they perform well on Webflow's hosting. The downside? You're somewhat limited in complexity, and you might face some timing challenges when coordinating multiple elements.
Custom code approaches using libraries like Barba.js or GSAP open up a world of advanced effects with precise control, creating true single-page-application experiences. The trade-off is that you'll need JavaScript knowledge, will face more maintenance work, and might introduce bugs if you're not careful.
"We typically recommend native Webflow solutions for small to medium sites," explains our lead developer. "The best transition is one that users don't consciously notice – it should feel natural, not draw attention to itself. This often means simpler is better."
For larger projects with specific needs, a hybrid approach often works best – using Webflow's native capabilities improved with minimal custom code for specific effects.
Combining Effects to Match Your Brand
Your Webflow page transitions should feel like a natural extension of your brand personality. Color palettes used in overlay transitions can reinforce your visual identity, while timing and pacing should match your brand's energy level – faster for dynamic brands, slower and more deliberate for sophisticated ones.
We've seen this work beautifully in practice. For a financial client in Charlotte, NC, we created transitions where content slides upward while gradually becoming more visible – subtly conveying stability and growth. For a creative agency in Pittsburgh, we incorporated more playful rotational elements that showcased their innovative approach.
Staggered animations can create rhythmic patterns that reflect your brand's character, while thoughtfully designed transitions support the narrative flow of your content. These small details add up to create a cohesive, memorable experience.
Common Pitfalls & How to Avoid Them
After building hundreds of Webflow page transitions, we've encountered (and solved) nearly every possible problem. Here are the most common issues to watch for:
Double-trigger problems happen when multiple animations fire simultaneously, causing visual glitches. The solution is to use class-based triggers and carefully sequence your animations.
Page flicker – those brief, jarring flashes of content during transitions – can be eliminated by setting proper initial states and carefully timing your exit and entrance animations.
Mobile performance lag is a frequent issue where transitions run smoothly on desktop but stutter on mobile devices. We recommend simplifying animations for mobile or creating device-specific variations that maintain the effect without taxing limited processing power.
Cross-browser inconsistencies can be frustrating – transitions that work perfectly in Chrome might break in Safari. Thorough testing and browser-specific fallbacks are essential.
Missing fallback states are often overlooked. If JavaScript is disabled or fails to load, your transitions should gracefully degrade, ensuring content remains visible and functional without animations.
"The most common mistake we see is overcomplicating transitions," notes our creative director. "Start simple, test thoroughly on actual devices, then add complexity only where it genuinely improves the user experience."
For more information about optimizing your Webflow site's performance while maintaining beautiful transitions, check out our guide to Webflow Page Speed Optimization.
Frequently Asked Questions about Webflow Page Transitions
Do page transitions hurt SEO or load speed?
One of the most common concerns we hear at Refresh is whether adding those slick Webflow page transitions will tank your site's performance. Good news - when done right, they won't harm your SEO or significantly impact load times.
Here's the reality: modern search engines have become quite sophisticated at indexing JavaScript-improved websites. The brief delay in navigation (typically less than a second) doesn't meaningfully impact the metrics search engines care about. Plus, well-built transitions use CSS transforms and opacity changes, which are hardware-accelerated for smooth performance.
That said, we do recommend some common-sense precautions:
Keep your transitions snappy - under 1 second total duration feels responsive while still creating that polished effect. Avoid animating resource-intensive properties like box-shadow, which can cause stuttering. Always test your Core Web Vitals after implementing transitions to catch any performance issues. And consider creating simpler, lighter transitions for mobile users who might be on slower connections.
How do I respect reduced-motion preferences?
Accessibility isn't just nice to have - it's essential. Some of your visitors might have vestibular disorders or motion sensitivity that make animations uncomfortable or even physically distressing.
The simplest solution is adding this snippet to your project's custom code:
@media (prefers-reduced-motion: reduce) { * { animation-duration: 0.001ms !important; transition-duration: 0.001ms !important; }}
This respects the user's system settings, essentially turning off animations for those who've indicated they prefer reduced motion. For more nuanced experiences, you can create alternative, minimal transitions specifically designed for users with these preferences.
As our UX team always reminds our clients, "Building inclusive transitions means everyone can enjoy your site, regardless of their needs or preferences." It's not just about being technically compliant—it's about creating truly welcoming digital spaces.
Can I mix multiple transition libraries in one project?
While you technically could combine different transition libraries like Barba.js and Swup in the same project, we generally advise against it. It's a bit like mixing too many seasonings in one dish—what should be flavorful becomes confusing.
Multiple libraries often lead to conflicting JavaScript, unpredictable behavior, performance headaches, and maintenance challenges down the road. Instead, we recommend choosing one approach and applying it consistently across your site. Most libraries are flexible enough to create varied effects for different sections without bringing in a second system.
For particularly complex projects, our team often builds a custom transition system custom specifically to the project's unique needs rather than cobbling together different off-the-shelf solutions. This approach gives you the flexibility you need without the technical debt of managing multiple libraries.
Conclusion
Webflow page transitions aren't just fancy effects—they're the difference between websites that simply exist and those that truly engage. When thoughtfully implemented, these transitions create a seamless flow that keeps visitors connected to your content and invested in your brand story.
At Refresh, we've watched clients' faces light up when they see how the right transitions lift their websites from merely functional to genuinely memorable. Our teams in Pittsburgh, Cleveland, and Charlotte have developed a knack for crafting custom Webflow page transitions that strike that perfect balance—visually impressive without sacrificing performance or accessibility.
After building hundreds of sites, we've distilled our approach to a few essential principles. Start with purpose—your transitions should improve navigation, not distract from your content. Begin with simplicity—master those basic fades before attempting more complex effects (trust me, there's an art to even the simplest fade). Maintain consistency throughout your site—a cohesive transition system feels intentional and professional. Test thoroughly across devices—what looks stunning on your desktop might stutter on mobile. And always respect accessibility by providing options for users who prefer reduced motion.
The beauty of Webflow page transitions is their versatility. Whether you're showcasing a creative portfolio, building an e-commerce store, or developing a corporate site, thoughtful transitions can dramatically improve how users experience and perceive your brand. We've seen bounce rates drop and engagement times increase simply by adding that extra layer of polish to navigation.
Think of transitions as the friendly guide who helps visitors through your digital space, making them feel welcome and oriented at every step. When done right, they're barely noticeable—yet their absence would be immediately felt.
Ready to transform your website from static pages into a flowing, cohesive experience? Get in touch with our Webflow experts and let's discuss how we can implement smooth, brand-aligned page transitions that make your site not just visited, but remembered.


.avif)